Hello everyone!

My name is Kent and for as long as I can remember I have LOVED action figures.
I'm not sure if it's the amazingness of seeing reality shrunk down to a fraction of its actual size, the appreciation for the artwork that many of them truly are, or just the boost in self-esteem that comes from towering over superheroes, space men, and fantasy warriors, but it really is a great thrill to me.
I've collected them for many years (since I was the size of one) and even recently within the last 20 years have discovered that I have a knack for customizing and restoring them too.
This will be where I show my latest projects and acquisitions and hopefully some of the excitement that they give me will rub off on you!!!

Saturday, November 12, 2011

Sir, I protest... I AM NOT A MERRY MAN!!!

On May 8 of 2009 movie theaters across the country were filled to overflowing with excited fans of a new sci-fi tale. It was one that the teaser trailers hinted just enough at to lure in people from really all over the place. (Believe me I remember because I was intrigued... by the people.)  This thrilling 126 minute roller coaster ride seemed to be the "must see movie" of the year, and was sure to disappoint no one. Its name? Star Trek.


Folks from all different walks of life, athlete types, gothy emo types, gotta get the cows fed types, store greeter types, expensive taste types, actions show lover types, drama show lover types, grandma cookie baker types, and even video gamer types were excited to see this movie.
What I thought was so interesting is that this show was created in 1966. I had been a devout fan ever since then, and I wasn't born until '71.

It was fun to see Star Trek finally get the attention and appreciation it deserved. Especially from those who, hypocritically I might say, mocked it barely two years earlier.
Oh uh, what? You like it now?
It was like a tiny little after dinner mint of revenge in the nicest way possible.


The original series back in '66, only lasted 3 years, and without a fan letter writing campaign it would have ended at 2 seasons. For such a humble beginning, it's become a real part of american culture, and has spawned many movies and spin-off series.
The first "sequel series" that came from the original which started airing in the mid 80s was Star Trek: the Next Generation. Because this show came out when I was in my teenage years, I was able to watch the episodes as they came out, and not as re-runs years later like the original. "Next Gen's" special effects seemed state of the art and much less campy than the original, and the aliens on the show were much more believable.


One of my favorite characters was one of those aliens, and he actually played a regular member of the crew. He was a Klingon named Worf.
In 2006 a company called Art Asylum started making action figures of Next Gen in a 7 inch scale. The detail on these was the best of these characters ever offered up to that point and very nicely done. The first wave that was offered included Commander William Riker, and Lieutenant Worf.
Throughout the 7 seasons of Next Gen Worf had many looks... No it didn't have to do with his mood, or  if he had just eaten some Klingon sour patch kids.
The people in charge of the look of the show were experimenting, with what would look best on an individual of an alien race from Star Trek that had never had a consistent, "every episode" place on the program.
Sometimes their experiments were hits, sometimes they were misses.
They did this about once a year. Check it out... (the 8th picture is from when he was in Star Trek: Deep Space Nine)


More obvious to me than the subtle changes in his forehead and eyebrows was his hair.

The look Art Asylum chose to produce their Worf figure in was his season 7 pulled back hair in a pony tail look. I really do think this look was my favorite look of him but since his character was such a favorite of mine, and because I felt that they did such a good likeness of him in a miniaturized version, I just had to see what I could do with it!


There were 2 versions I was interested in creating out of what Art Asylum had done. The first season version (which I actually thought was a miss and not a very good look, was so different from the way he looked the whole rest of the series it was iconic to me), and his fifth season look that was a "bob" hair do that I always liked which he had for some of my favorite episodes.

First season Worf.

His hair short and his uniform color being red to designate that he was a "command or helm" officer rather than his later tan-ish colored uniform for "engineering, security or operations", I had to find a way to change him up. Matching red to red on the other figures was important to me too. Painting wasn't an option, because the first season uniforms had a lot of differences. Also, his sash that he wore over his right shoulder, which was silver through the entire series, was gold and quite different looking in the first season. That would be an issue to be addressed as well.


I decided to start with season 1 Worf.  Since his hair was all one piece, I was able to carefully remove it with a knife so I could sculpt his hair from scratch. At the same time I also did this to the figure I would later make into the season 5 version in preparation for that project.

After some close comparisons, I found that the season 1 Commander Riker figure that Art Asylum made had the same build, height of body, color and style of uniform for the season 1 Worf I needed, so I proceeded with a head transplant.
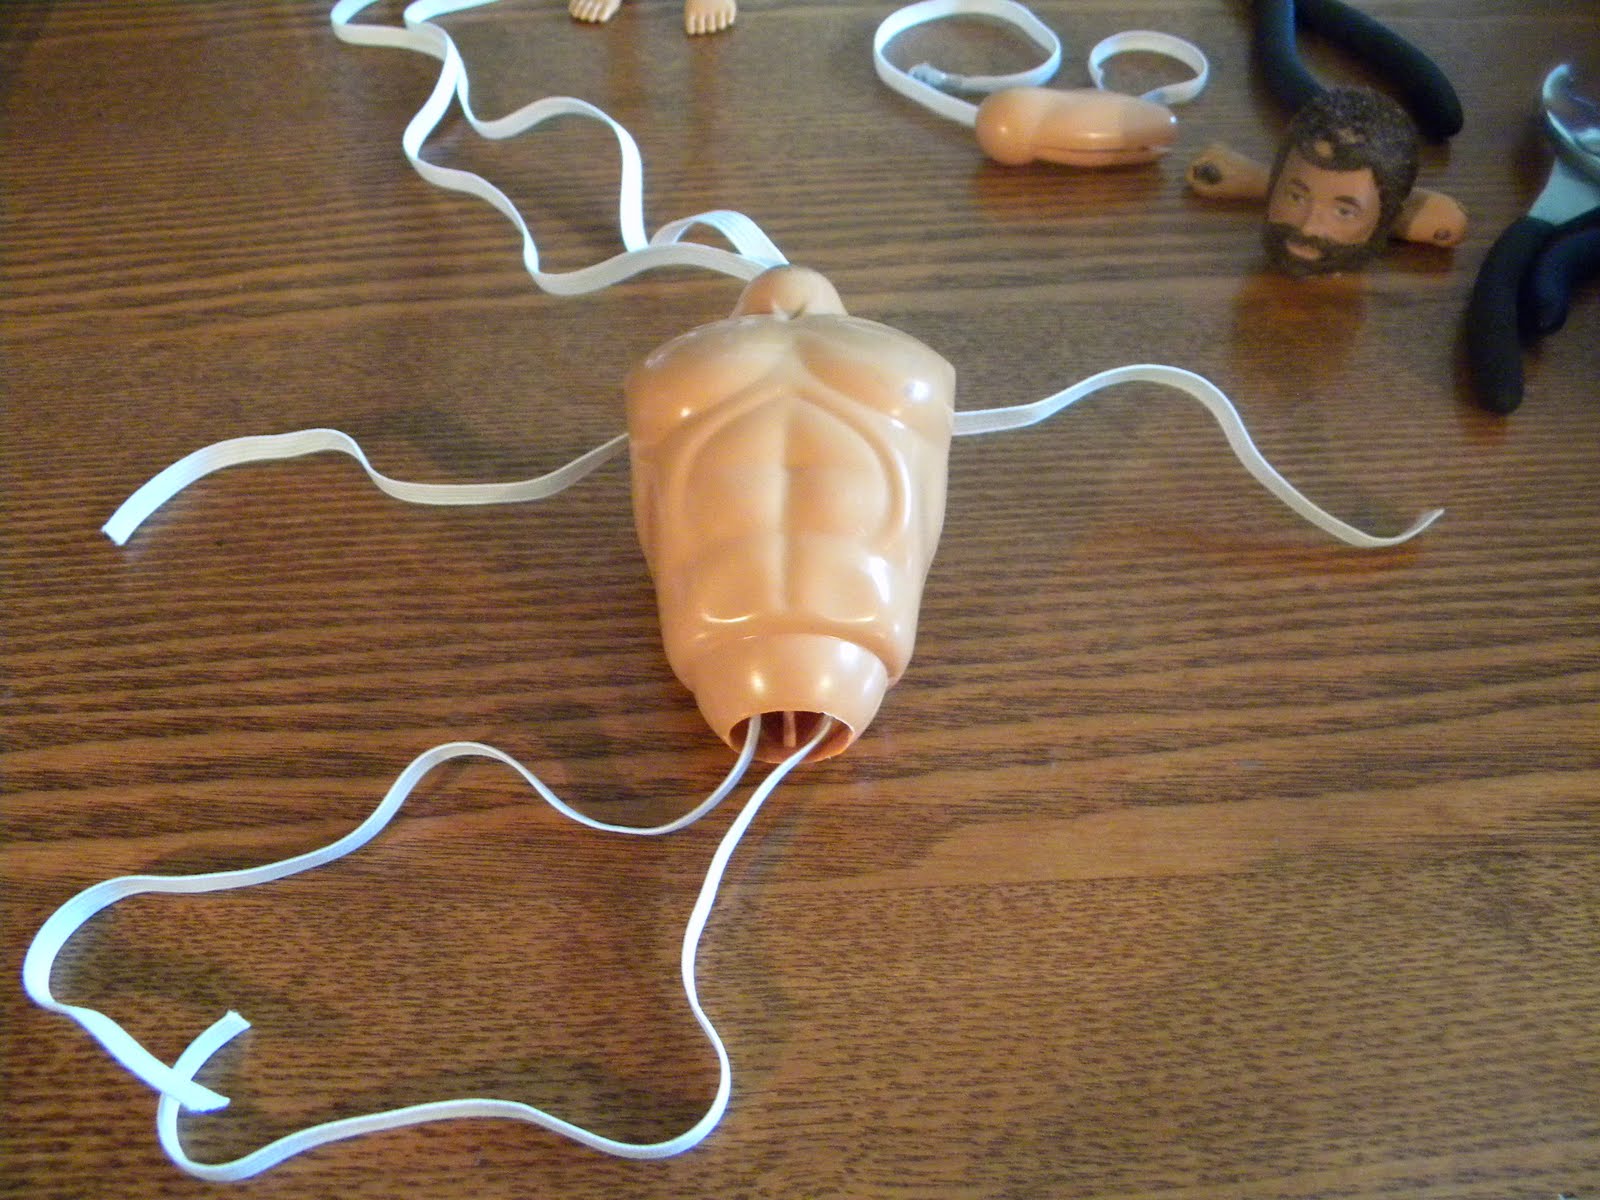
I used what's called in customizer circles the "boil and pop" method to remove his head. It's pretty simple. Just boil some water in a pan, dip your figure in far enough to cover the areas of plastic you need to soften to do your work. Leave it in for just a few seconds, maybe a long 7. And with a towel so you don't burn your hand, pop off the head.


From this point I just did the same thing in reverse and attached Worf's body-less head to his new 1st season uniformed body. Now, unfortunately I realized that from this point I wasn't as diligent in taking lots of pictures and I feel bad about that. But this was my first attempt at sculpting so try to overlook imperfections and inaccuracies. Along with his hair, I sculpted a new sash for him, based off an imprint I made of the sash from a different Klingon figure that's basically the same sash.


And now to jump ahead 5 years... to his season 5 self.
Time travel is awesome!
I was so glad I did the s1 version first because I was really excited about s5 and I wanted to make sure I did it right!
With this one I didn't have to boil and pop his head because on this one I wanted his tannish/goldish colored uniform.

Fifth season Worf.


His scalped head had a good groove in it that would work well to really cling to the big glop of clay that would make up his s5 mop.

I soon realized, with this much clay/hair it was hard to make it look like it was naturally rooted in his head, the way his hair looked in this style on the show. So I decided the best thing to do was to temporarily cut off the bottom part of his hair with some fishing wire so I could work on a good, natural looking head-hair connection.


And then, once I felt the hair connection looked natural
(not just coming from the crown of his head)

I worked the rest of the hair back on.


Once it was smoothed out, enough to look like one piece again, I worked it carefully to get the right shape around his face. I've seen a lot of sculptures and busts of s5 Worf that just didn't look right because of the shape of his hair. Weird I know, but it made a difference to me. Then, because I didn't want him to look like a dude with ridges on his forehead who was wearing a brown smooth Darth Vader helmet, I needed to sculpt details to look like individual hairs. 


I also wanted to be careful to keep his roots intact, and not smoosh all his hair against his head all the way down his neck so I put in a little piece of cardstock to support it while I worked on the hair details.

After a bit of styling and grooming (as much as Klingons groom) a bit of baking in the oven to cure the clay, and some darker brown paint, he came out just as I was hoping...


Here they are together...


Now at home with the rest of their brothers...

Thursday, August 4, 2011

Old Friends Reunited...


Last week, I was at my mom and dad's to see my brother who had come from out of state with his family and I found myself in our old toy closet with avalanches and landslides of games and Fisher Price toys everywhere. As I was rummaging through, I found the camo shirt that belonged to my old G.I. Joe. figure I owned as a child and I had the thought, "Wouldn't it be great if I could find my old figure?" I really had almost forgotten about this favorite treasure of mine and was suddenly flooded with memories.
For hours I searched through all of the boxes, some of them five and six times because everything started to look the same with all the little pieces of old toys. I almost gave up, but soon into my search and rescue mission, my brother got into it too and near the end of the third hour found the last piece! I was ready to cut my losses and submit a casualty report but my bro didn't give up!
So I had the whole figure... but it was in pieces.
Now, I really do consider this lucky because it's been over 25 years since I've even seen this figure, and to have survived grandchildren now going through those toys all the time, to have his boots, head, biceps, forearms with very aged and broken kung-fu grip hands, the lower half of his body (still together), torso, with his camo cutoffs, pants, and shirt all reunited again is truly AMAZING!!!


So, now putting him together...
Hmmm.
I try to be very careful about the projects I do. But this one really stood apart from the others because it had a lot more to do with sentimentality for this actual figure than creating a "mint looking right out of the box" Joe. So buying replacement parts to fix things I destroyed was not what I wanted to do. I even wanted to keep his flocked hair's missing parts and dirty face the same because that's how I remember him. (I did that damage early on.) I'd love to replace his missing gun and broken hands someday but I was still so excited to have my complete figure!
I had to do some homework.
There's a lot of info out there on fixing up vintage 12" G.I. Joes.
After watching about 15 youtube videos and going to several different websites I wrote to a few people that were long time collectors for some advice on how to handle my predicament.


Charlotte Beckmann was very helpful as I was learning about G.I. Joes. She introduced me to thetrenchesforum.com/forums. It's a forum where Joe collectors gather to discuss their collections and give tips on repairs and restorations. She even put me in touch with a member named Ray Cairo of "Flock Concepts" flockconcepts.proboards.com who is highly revered for his G.I. Joe work and who offered to completely restore my beloved figure. However, because this project was so personal to me, I just really felt like I needed to do it myself. I really can't thank them enough though, for how thoughtful and supportive they were to me with this project.  


Another very informative website I found was by Mark Wright tibranch.com/beachhead who told me the version I had was one of the last of the "Adventure Team Land Adventurer" with kung-fu grip muscle body version.


Whew, that's a mouth full!


He said these, unfortunately, were the worst designed Joes and usually fell apart after a few decades because the plastic that held them together deteriorated. That's exactly what happened with mine. The plastic joint parts had gotten so brittle that you could scrape pieces off with your fingernail. Almost like the consistency of chocolate.


Mark also educated me on the term "restringing" a G.I. Joe. That's the Joe word for pulling the top and bottom parts together with a nylon band the way the torso was originally attached to the lower half. He said he'd never done it, and didn't know anyone to recommend because he'd never used anyone's service or known anyone who has.


That actually made me quite intrigued, and excited to accept the challenge.


Looking up "restringing a G.I. Joe figure" was very helpful too. I found several examples that gave me a good look at the inner-workings of my figure that I would need to be prepared to deal with.


So with that I decided to start...


I made a tool to separate glued pieces without the risk of hurting the figure from a wooden sponge paint brush handle.


A hook to pull the elastic through the body...

elastic ribbon and electrical connectors!


This was the hardest part! I had to BREAK my figure!!!

I've seen a lot of people break apart the torso and the upper arms but I didn't want to break him up more than absolutely necessary. And I really thought I could do this without popping open his torso. Just the upper arms/ biceps.
What AM I doing?

This is what I use the little hook I made for.

Gettin' all the stringing done at once.

To replace the brittle broken plastic that was in the biceps, I decided to find a strong, foolproof connecting material. How about a nail? I measured the width I needed and cut two.

And then attached it to the arm string, with two knots.


Now to string the forearm and prepare it to connect it to the bicep. I used a pliers handle to give me the length I needed...

so I could do this. The connecting stem inside the bicep was the perfect place to make a forearm connection. Oh, and I used a piece of plastic from one of the electrical connectors on the end of my nails so they wouldn't rattle back and forth when the arms were back together.


I had to hold it tight until I had it all together, and I let it set for a bit.


Then I did the same thing to the other arm. Keeping it tight was essential to making this work!

The next step.
How do I connect the upper body to the lower body when the plastic connecting loop (which is still in good, strong condition) is broken in half? A lot of stress of picking the figure up, posing him and helping him stand will depend on the integrity of this connection. It's important to get this right.


I decided the best thing to do was get rid of most of the connecting loop that was broken because it would get in the way of any new connection and good mobility.


Next, I snipped one of the electrical rivets so I could "hook" it around some of the remaining connecting plastic inside. Then, keeping the string tight and crimping the other rivet about an inch away from the first one (before trimming the excess for stretching purposes) I connected it to the other side of the connecting plastic inside Joe's, um... private area. 

Wow! How exciting!!! He's really coming together!
Now to put his head back on his shoulders.


I carefully got under the edge of the outer plastic of the head with a small flat screwdriver so I could pull out the cone stem inside. Once I got it out, I removed the remaining broken connecting plastic from the head cone and fed the string through the top. Before tying it on, I threaded on a little ball of metal wire (to prevent knots in the string from popping back through the hole in the head cone because my 1/4" string wasn't wide enough on its own), and tied it down tightly with a couple of knots.

Once the excess string was trimmed, he almost looked normal.
Except for one more thing...

Oh ya! That's what was missing! 
YO JOE!!!

And now, since it's been a long time since he's been able... here's a glamour shot.


All the joints have turned out just how I wanted! Tight and moveable. I'm so excited.
I can pose him and move him just like when he was new.


I'm just THRILLED! I have my Joe back!!!

I'd forgotten exactly when my parents got me this figure but I knew I'd had him a long time.
When I was visiting with my brother, we looked through some old photo albums from when we were kids and we found this amazing picture from 1975. 
My mom sent it to me after I'd returned home.
This is proof to me that Joe is my first action figure I ever owned!!!

This is me at my four year birthday party.
Sitting next to me is my newly opened birthday present sharing the day.
Now I know how long I've had this guy. 
At the end of this month it will be our 36 year anniversary!

This year on my birthday we'll be together again.